


Opening an online store on a shoestring budget? Here are a bunch of tips to help you do your product photography at home.
If you are a businessperson who is just starting out, or a seasoned one who is just venturing into e-commerce, the whole process of selling online can get a tad bit overwhelming. However, all you need to do is stay calm and up-to-date about what is happening around you in terms of marketing and technology trends. If you run a product-based business, nothing is more important to your online store than the actual images of your product. Gorgeous images have the power to sway customers’ decisions and get them to buy your products. Professional photography services may quote exorbitant rates for photographing your product. But you know what? This is something you can easily do at home all by yourself for a fraction of that money. If you already own a professional camera, your expenses are going to be virtually nothing.
DIY product photography doesn’t mean your images can be shoddy. 56% of online shoppers abandon the buying process if there aren’t good images of the product they are interested in. So, what constitutes a good product image? The clarity, brightness, composition and resolution matter. In addition to those, having a uniform, blemish-free background and attaining the perfect degree of contrast between the foreground and background are also important. It doesn’t matter if you don’t know any of the photography jargon mentioned above because this article will guide you on the basics you need to know about taking the perfect product pictures for your online store, all from the comfort of your home.
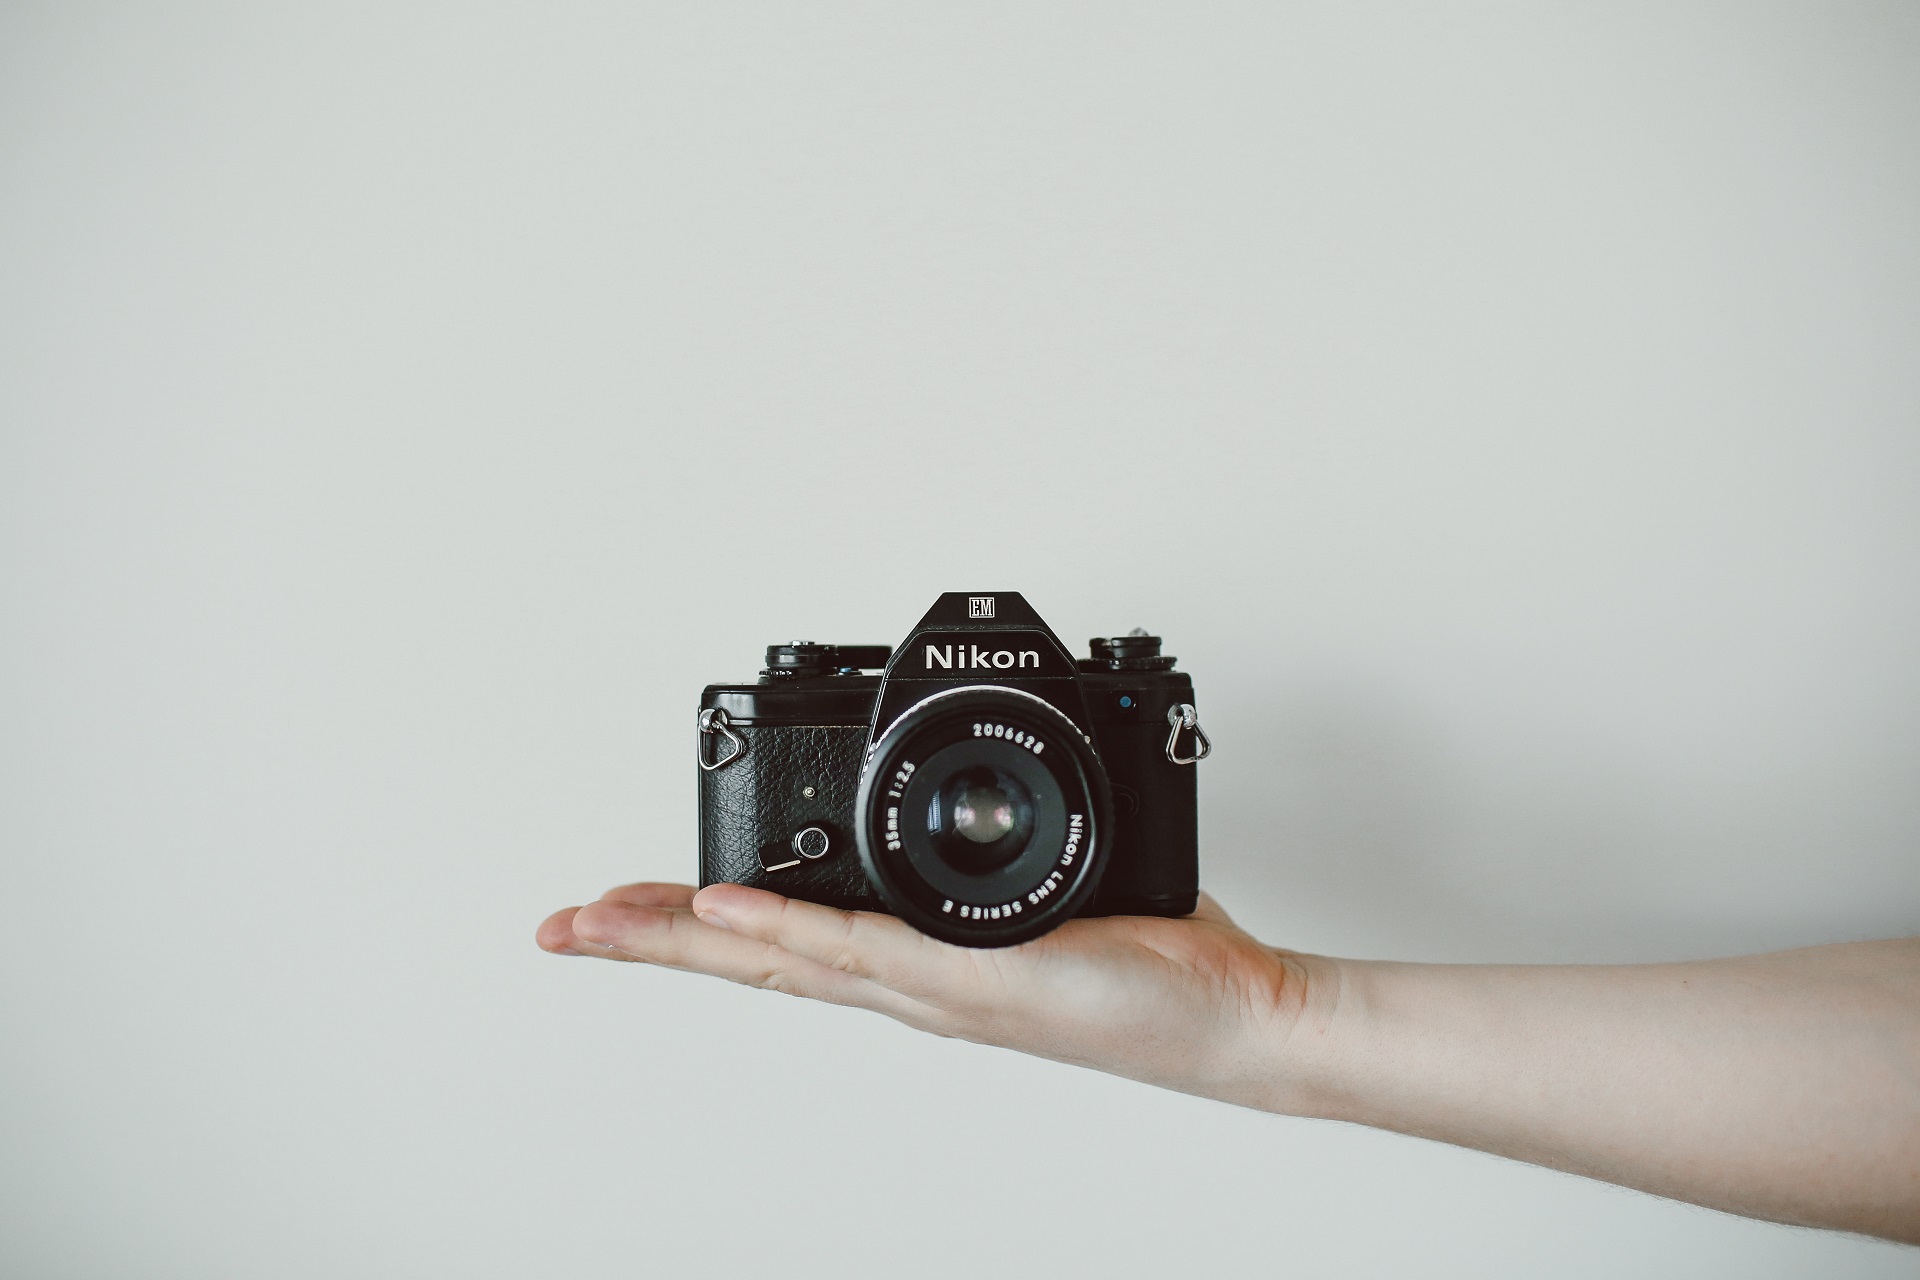
Invest in a good camera: While it is possible to take impressive pictures with your high-end smartphone, there are certain things it can’t do that a normal DSLR can, such as showing the finer details of your product—a feature most online shoppers base their decision to buy on. Professional camera settings can be adjusted to suit your product set-up, and if done correctly, every click will guarantee a superb picture. You don’t have to get yourself a brand new, state-of-the-art camera for this purpose. A basic model with changeable lenses is all you need. You could even find a decent, used one online at a good bargain.
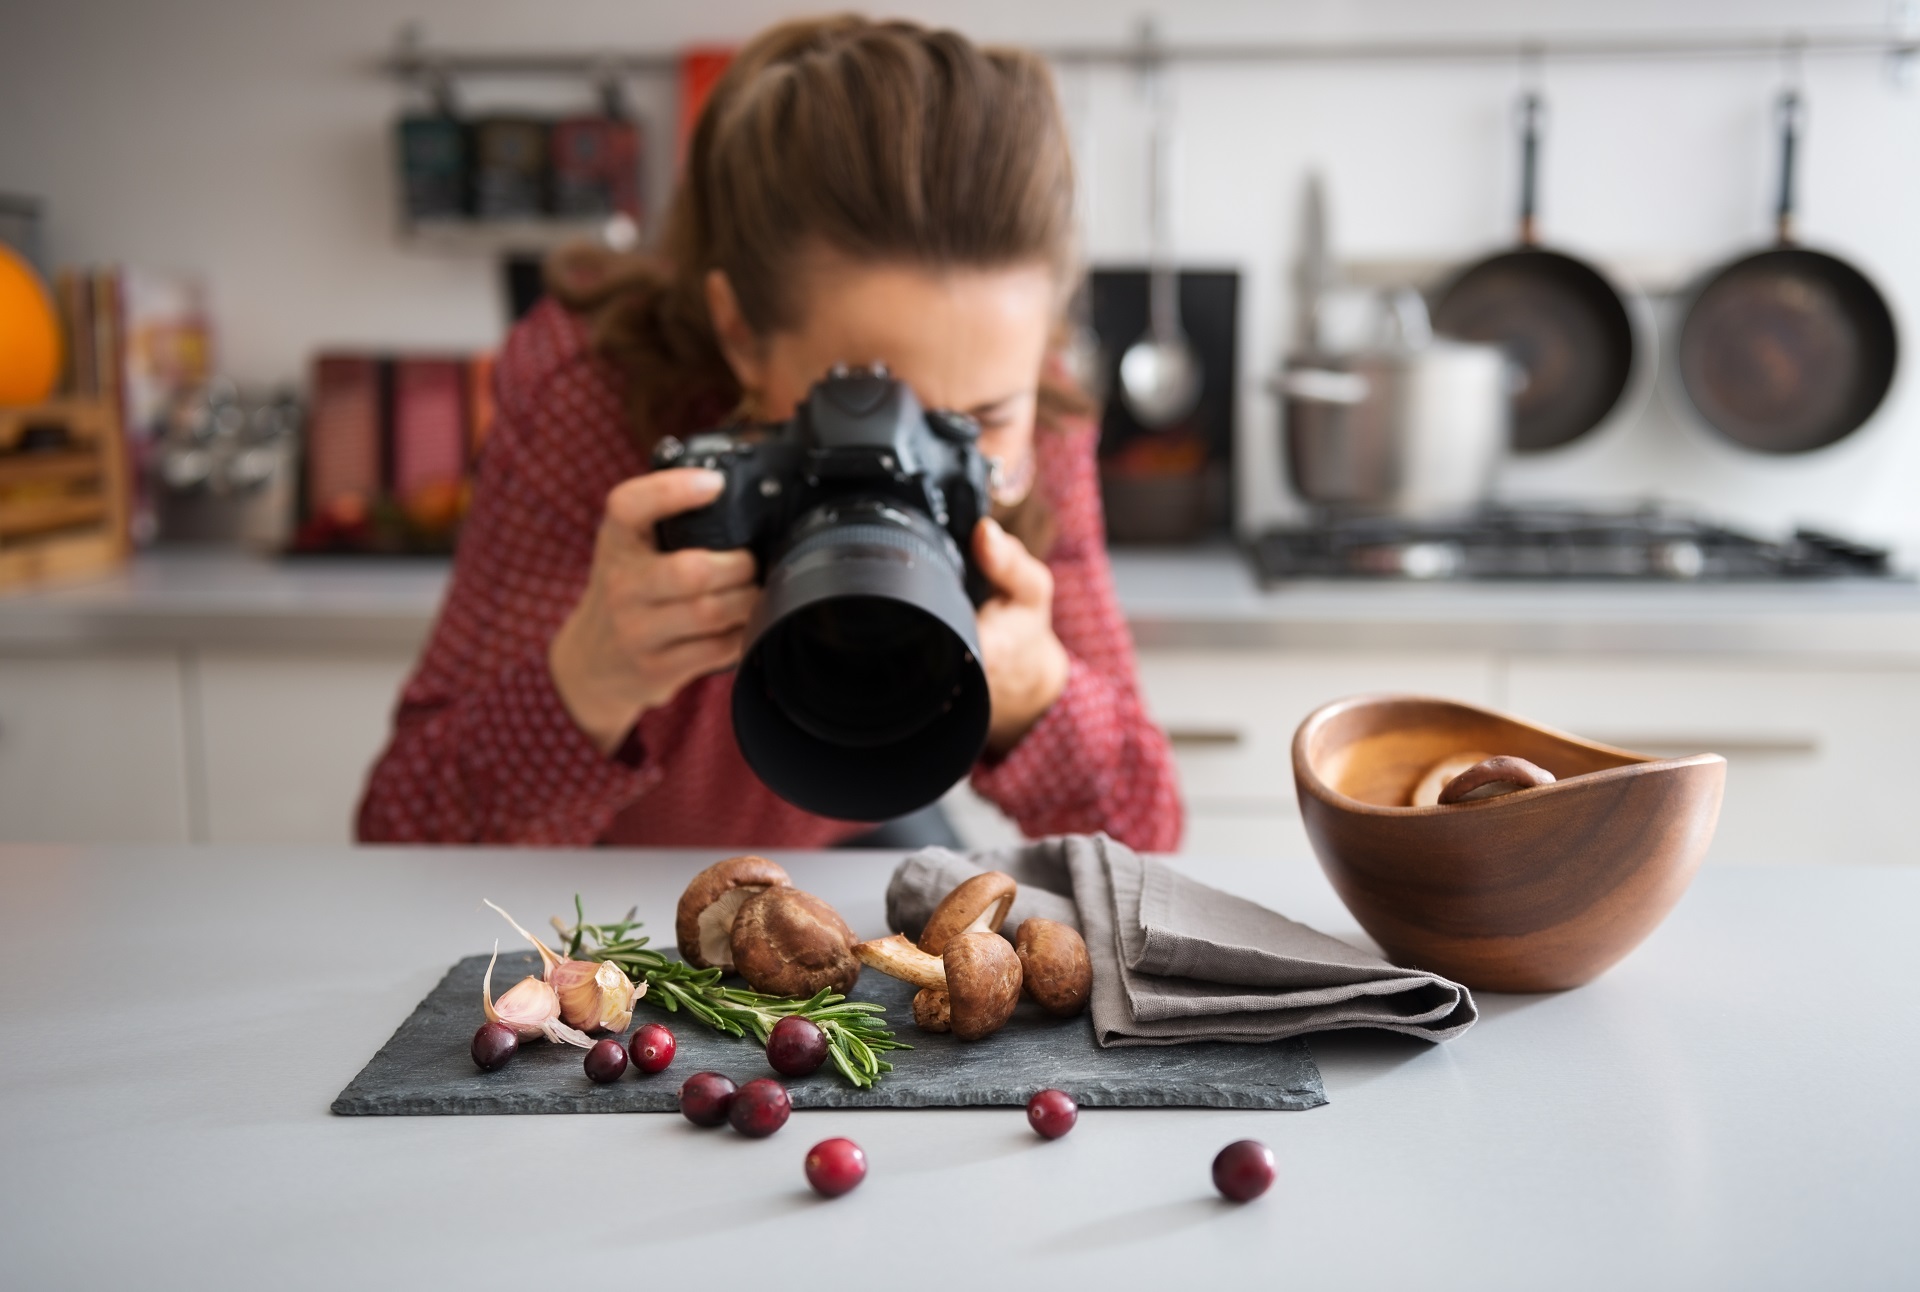
The tripod is your new best friend: The anti-vibration features that most cameras come with aren’t going to rescue you from a stream of blurry pictures unless your hand is as steady as a neurosurgeon’s! So, get your camera a tripod for sharper, well-framed pictures.

Choose good backgrounds: Sticking with a solid background color is always advised for product photography. Among all the colors, white tops the list because it helps to highlight your product. An inexpensive roll of white paper serves the purpose. You could even create an infinity cove with a roll of white paper. Infinity cove, sometimes called infinity curve, is nothing but a technique used in photography to create a stage with a plain, single-color background, to make the background of your picture seem like it goes on forever. It also helps you to clearly define your product, which is the subject of the image.
The set-up: You can either prop a table against the wall or use a side chair instead. Tape one end of your seamless white background paper onto the wall or onto the back of the chair and the other end to the underside of the table or chair, to achieve your infinity cove. Make sure there are no wrinkles on the sheet while you do it.
You might notice how only one side of your product – the side facing the window – is brightly lit while the other side is slightly dark. In order to lessen the shadow cast on the side of the product that is away from the source of light, bounce cards are used. Don’t worry, you don’t have to buy one just for the sake of it. White foam boards or any white surface that reflects light can make a good bounce card. Keep it on the product’s side which is farthest from the window; this will reflect the light onto the shadow region to achieve uniform lighting.
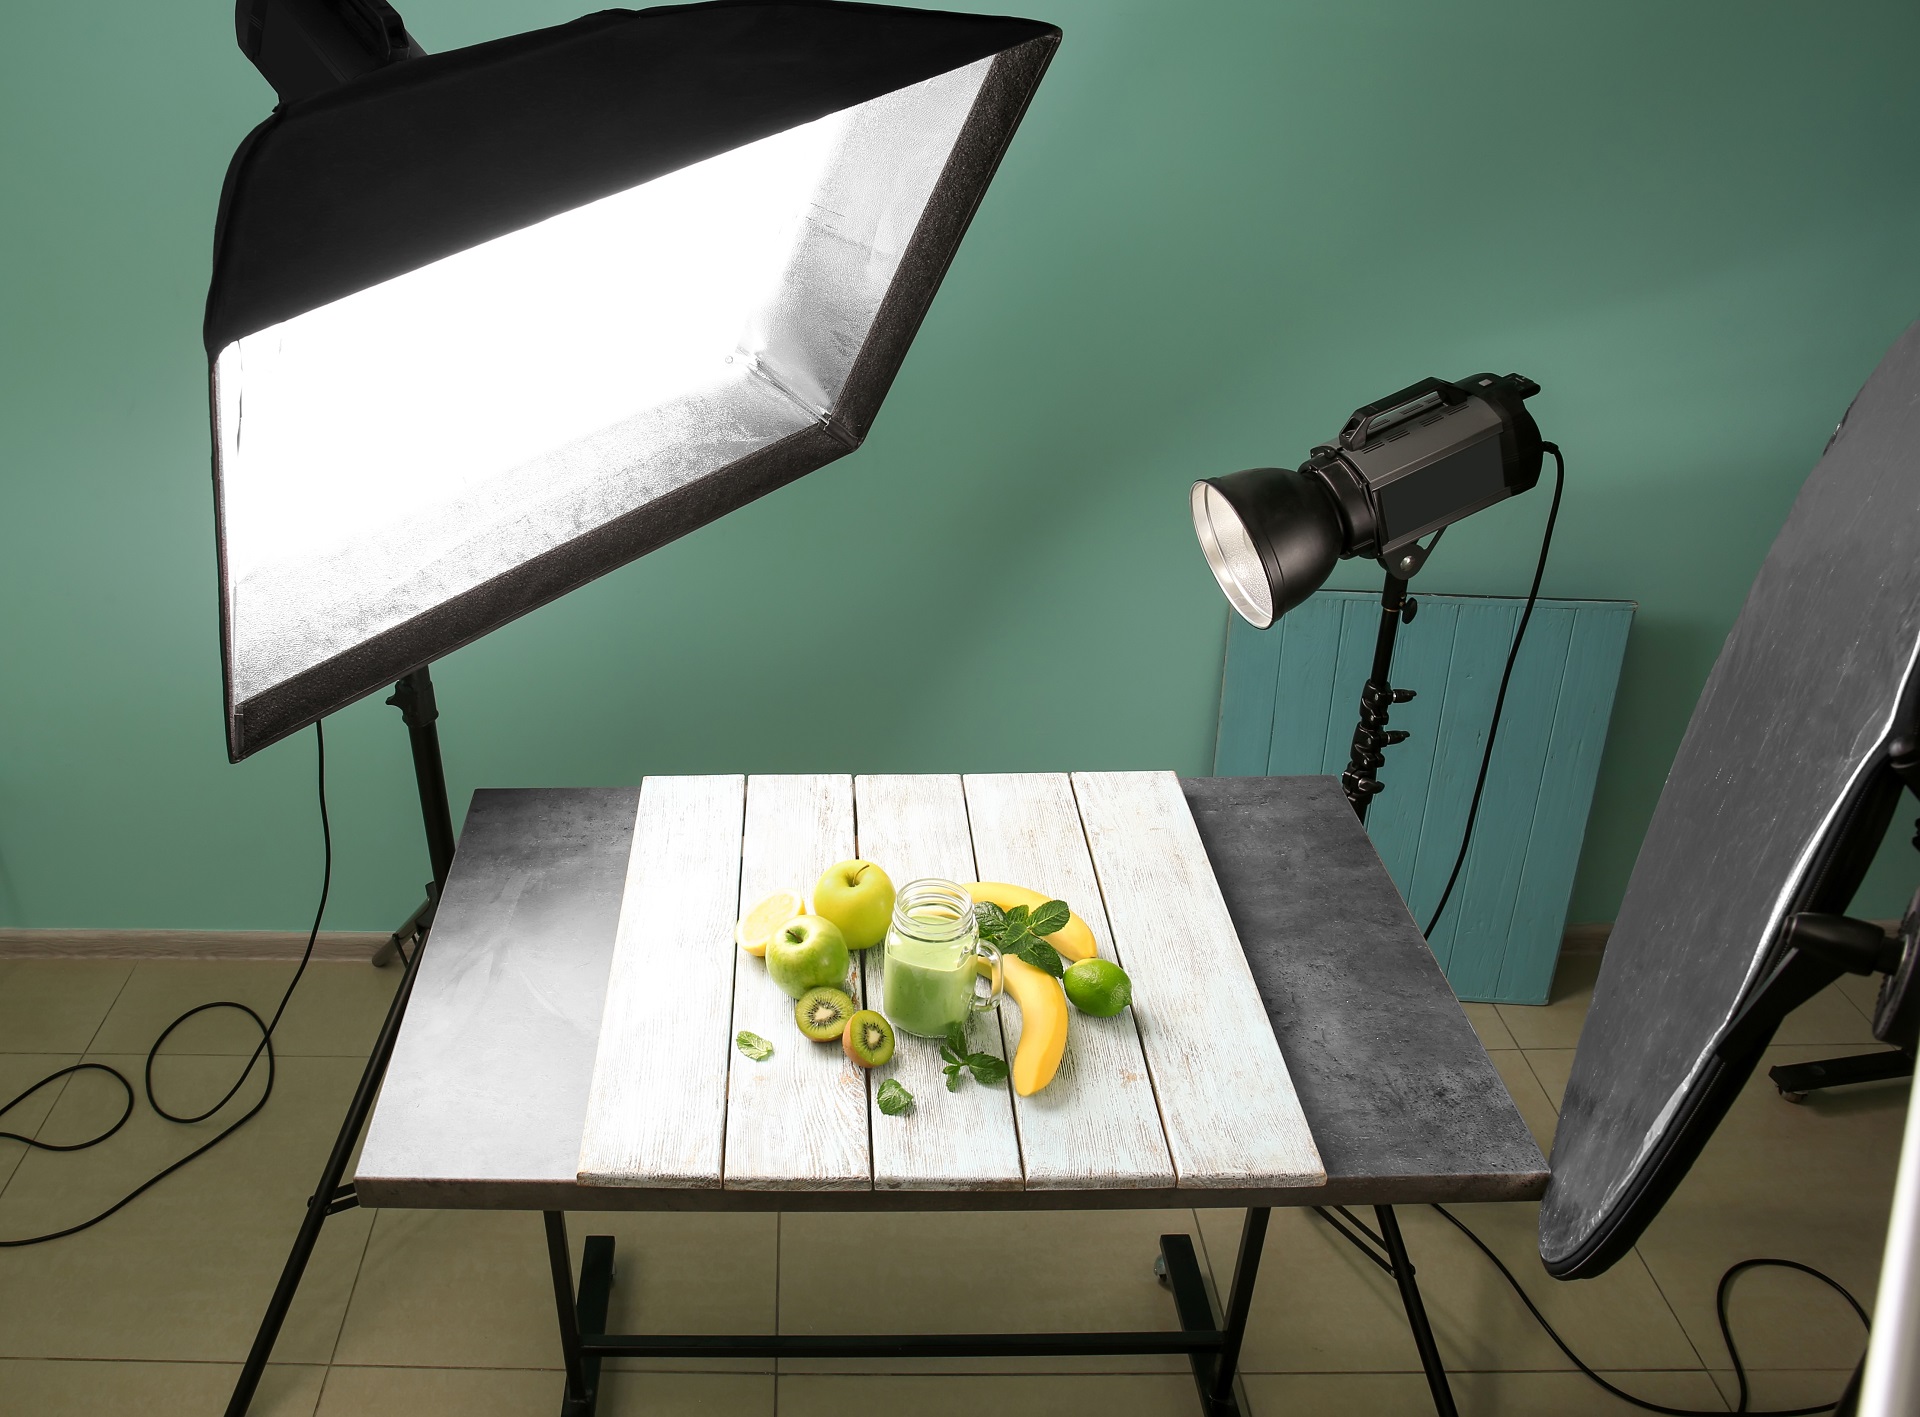
All about lighting: Lighting is a major factor that decides the quality of the images you take. You can go with natural light if you have a window near the set-up. You get the best kind of soft lighting if you set up close to a large window. But remember, no direct sunlight as it is harsh and makes your product look bad. Also, turn your camera’s flash setting off when you are using natural light.
The other option—studio light—will be more expensive. Whether you use natural light or studio light, ensure that every other source of light in the room is turned off before you start shooting.
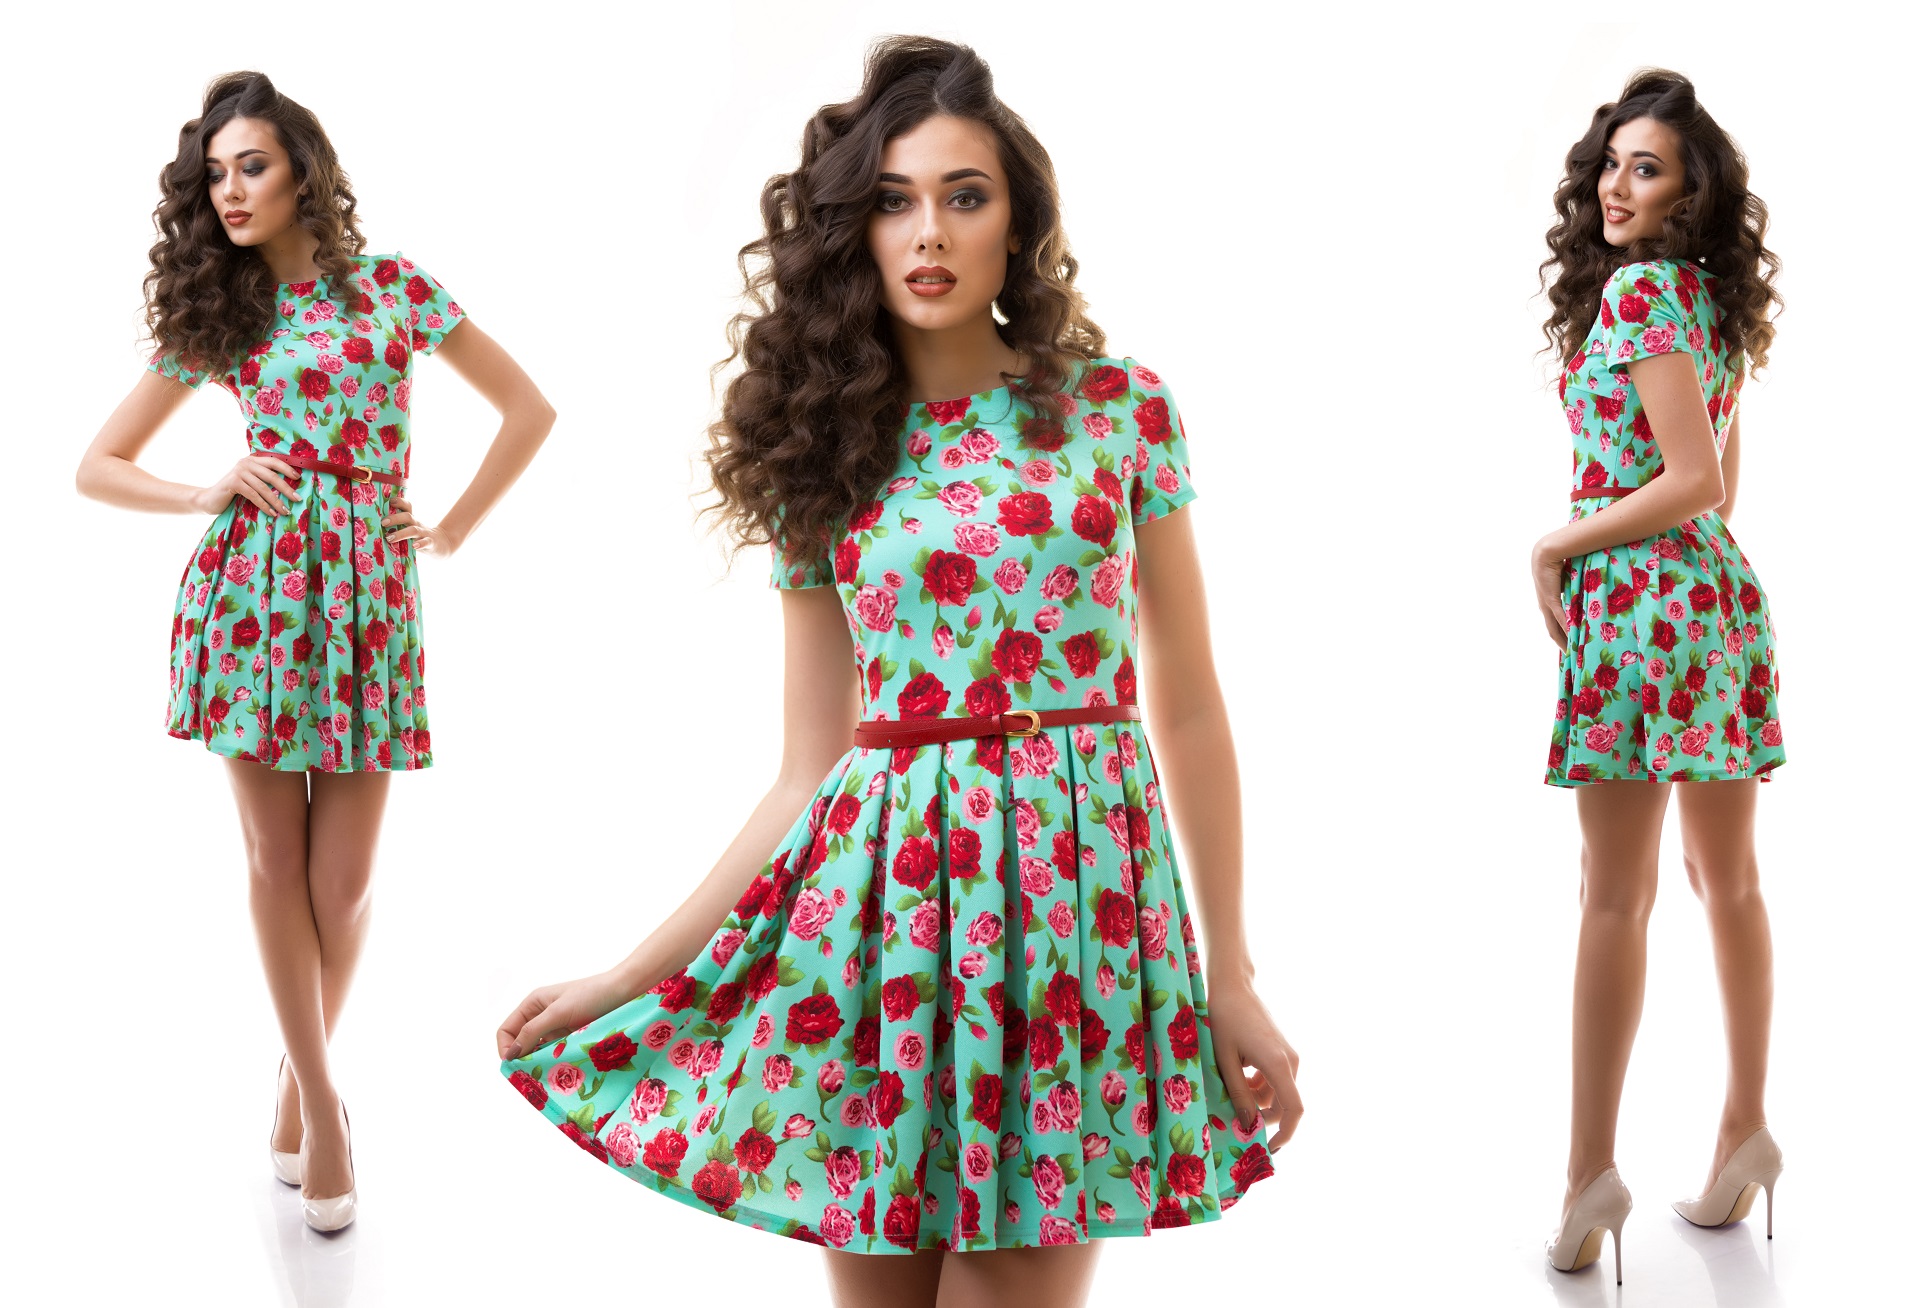
Show product variations and alternate views: If your company has the same product in multiple colors, make sure you have images for all the variants up on your site. It is also important to show your product from different angles. If you sell clothes, accessories or products that can be worn in general, having a model wear it would give online shoppers a clear-cut idea of what it would look like on a person, thereby increasing your sales.
Aperture matters: Having a professional camera and knowing how to use it are entirely different things. To make your images appear more professional, set your camera in aperture priority mode and adjust (refer to your camera’s manual) the aperture to make it wide. A wide aperture means setting it to f/1.8 or f/2.
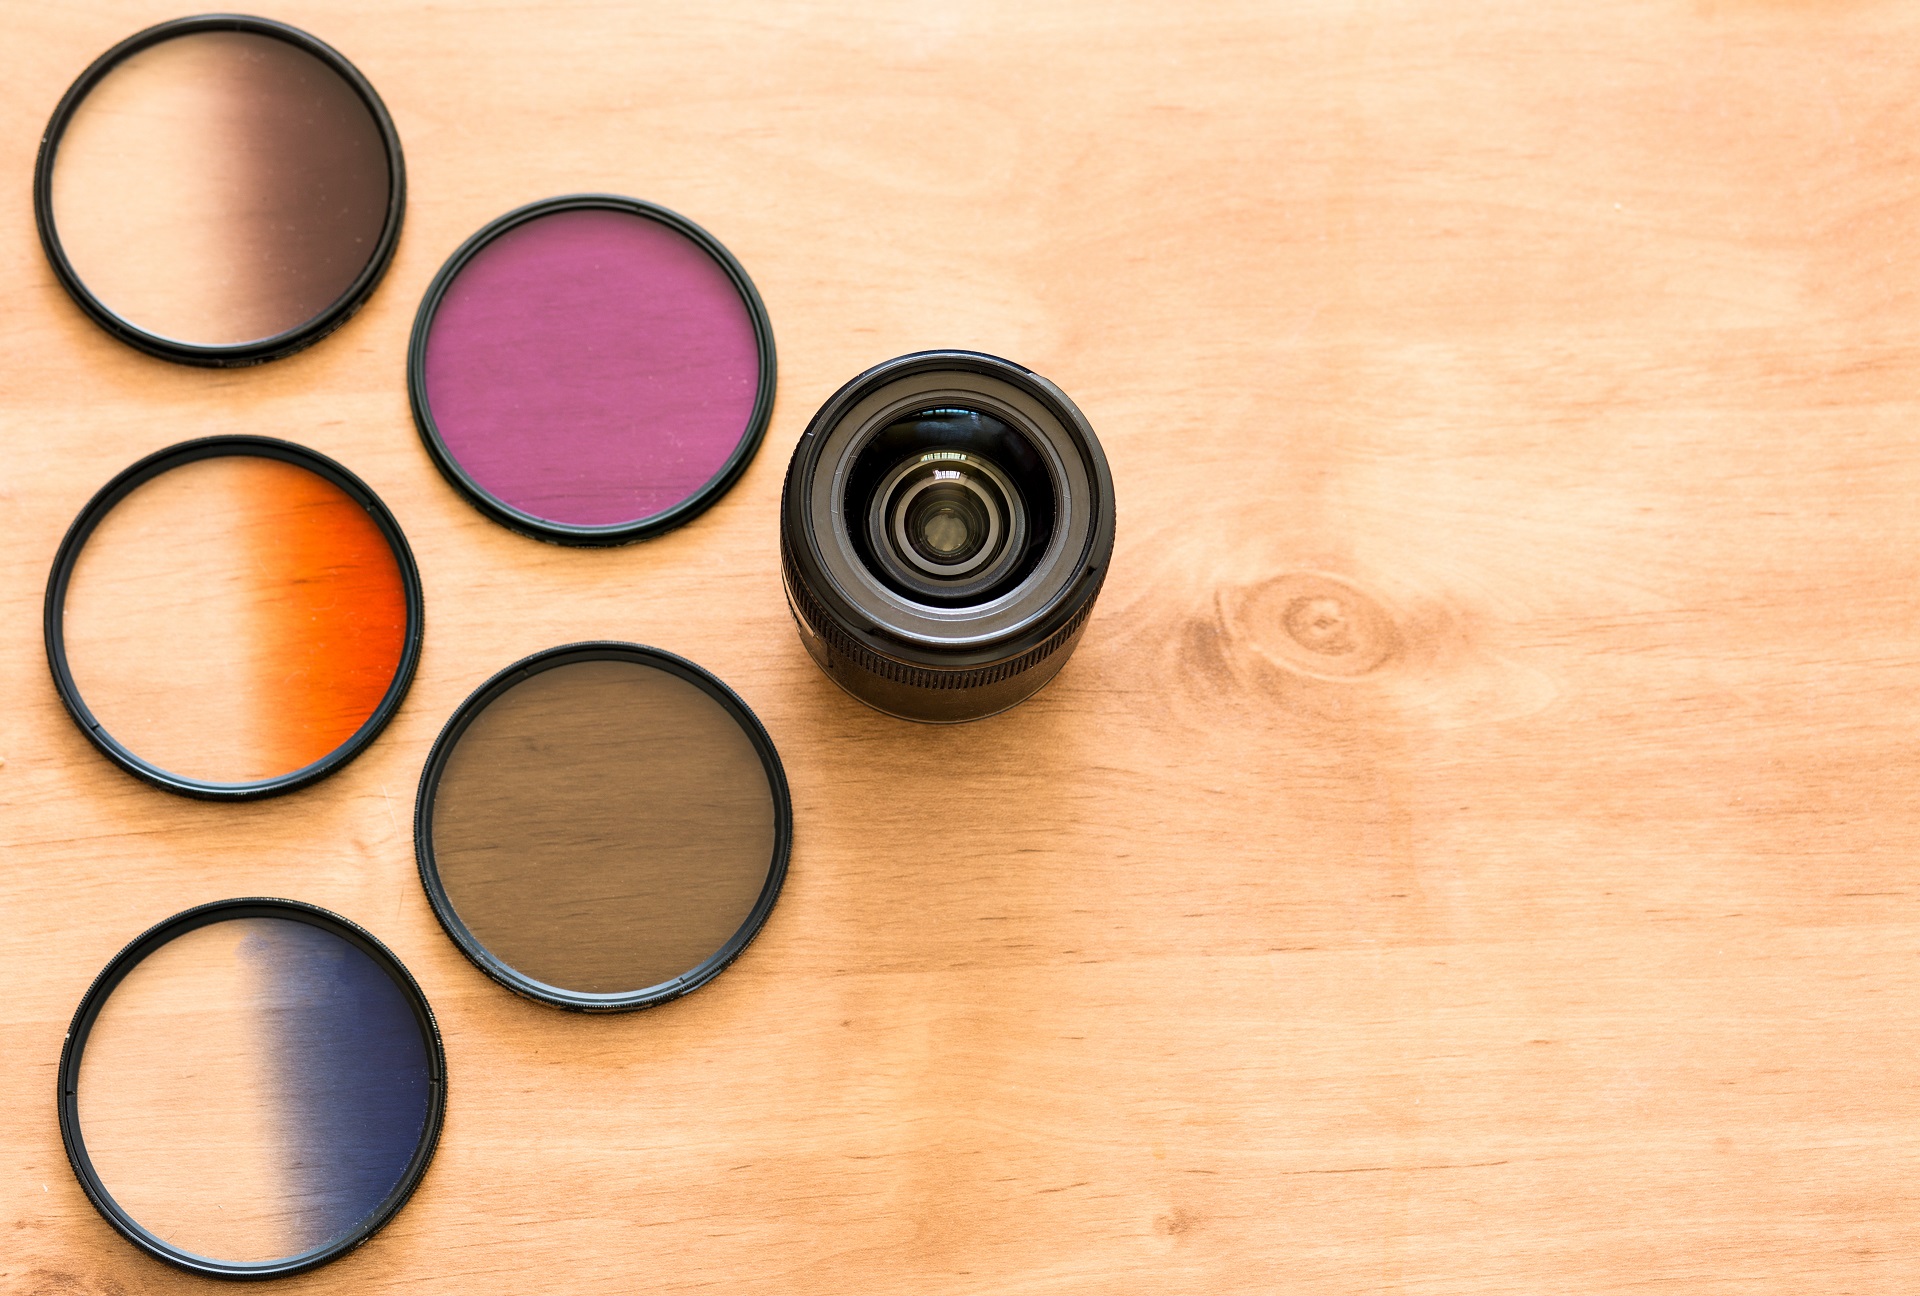
Say no to filters: The purpose of a product photograph is to serve as an accurate representation of your product. While adding filters may help you showcase your product in the best light, it may also make users question the quality of your product. So, refrain from using filters no matter how flattering your product looks.
View the images on your computer: If you are in the habit of clicking a picture, inspecting it and deleting it on the spot, this one is exclusively for you. Click away while you are on shoot-mode, decide which pictures stay and which don’t AFTER examining them on a bigger screen, say, on your computer. This will give you a better idea about what works and what doesn’t.

Editing images: Use any image editing software to enhance the final look of your image. While Photoshop and Pixelz are paid softwares, there are other online sources such as GIMP, Fotor and PicMonkey that will allow you to edit your photos for free. Whether it is to show your product in the best light or to make the color pop, this final retouching can make your amateur click appear professional. Also, use a software (such as JPEG Mini) that minimizes your image size without compromising the quality. This is extremely important because heavier images take more time to load, and often, online shoppers move away from a page if it takes more than two to three seconds to load.
Product photography is an important factor that affects the conversion rates on your e-commerce website. Having a fabulously designed website isn’t going to help you generate sales if your product images are of poor quality. So, even if it means a little extra work, make sure you do your product photography right. Now that you have your basics right, go ahead and start shooting!


