


Learn How to Make Jewelry at Home
Here’s a quick lowdown on how to make basic jewelry at home…
If you are planning to rid yourself of beads from a broken necklace, a single earring, old lockets and pendants and anklets that no long longer have a pair, please don’t. Beads can be used to make bracelets and necklaces, a single earring can be made into a pendant, old pendants can be used to make fancy chokers and a single anklet can be made into a bracelet and so on.
The equipment needed for simple jewelry making is now readily available in haberdasheries and some stationery stores. Basic jewelry can be made using the simplest and cheapest of the materials.
In this article, we will start with the basics in jewelry making. Soldering and melting metals will be covered in advanced jewelry making. So, let’s get started by learning how to string bead to make simple beaded bracelets and necklaces.
Basic jewelry
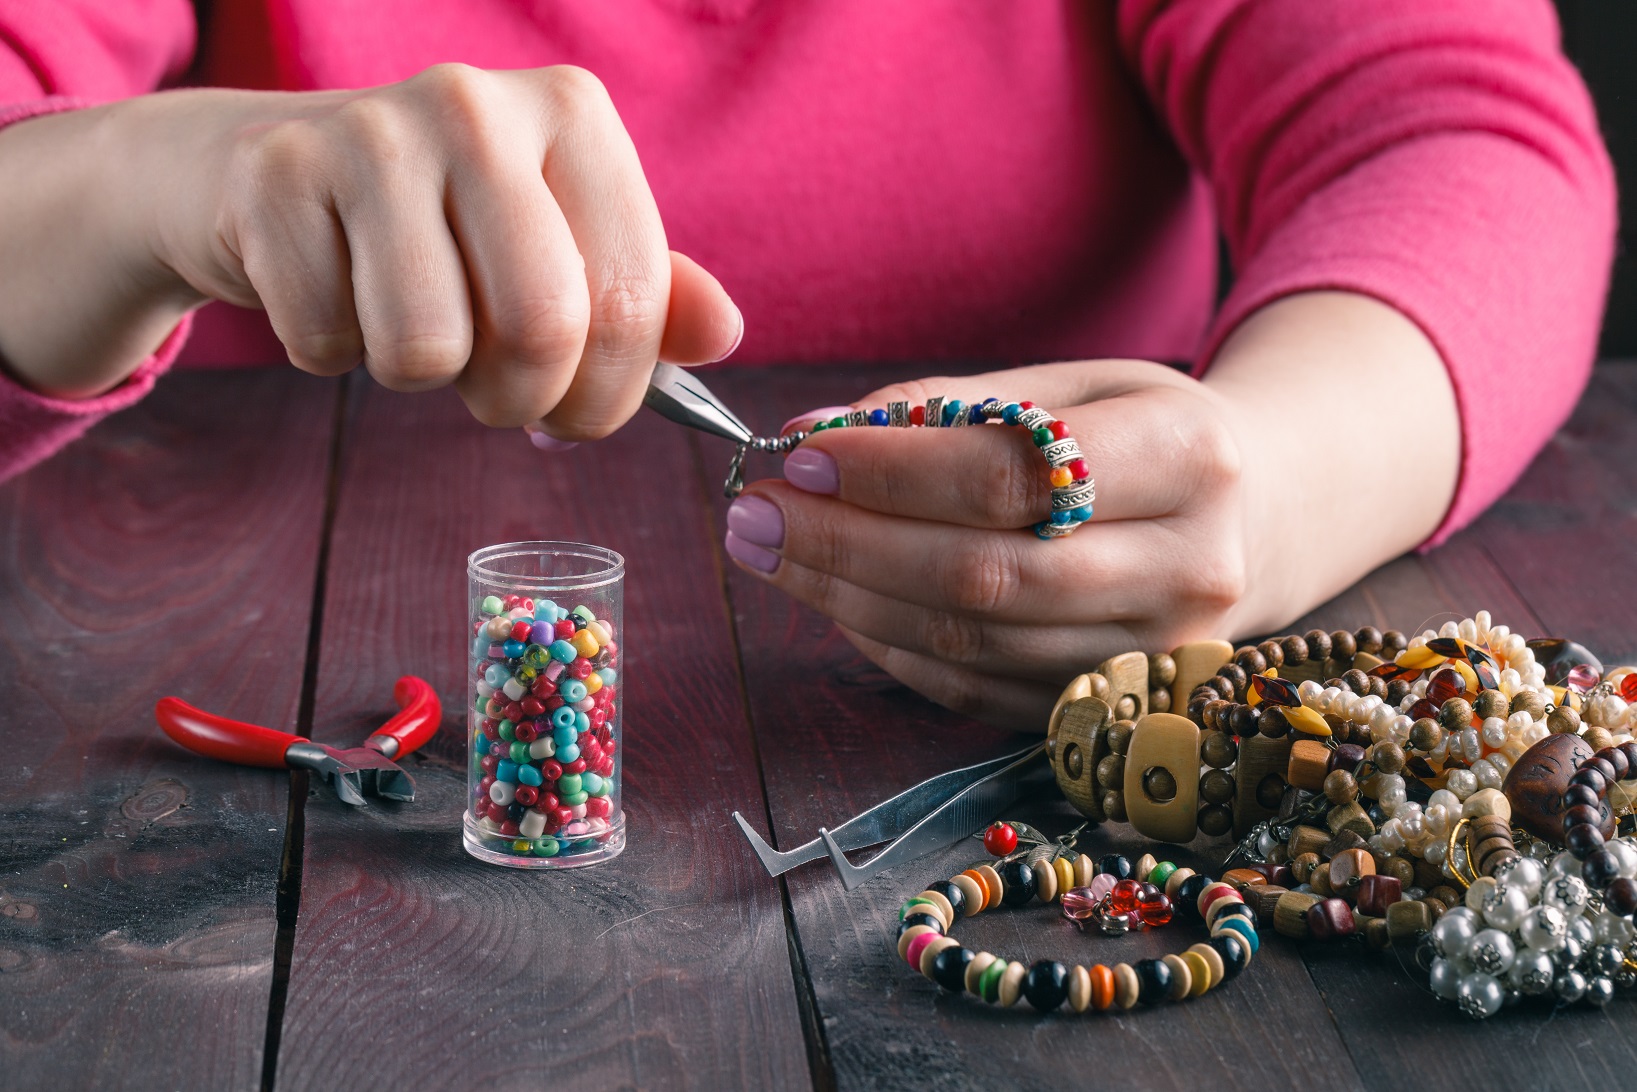 Stringing beads and dangles
You will need:
Tools:
- 2 pairs chain nose pliers – used for gripping
- 1 pair flush cutters- used to cut wires
Materials:
- 10” nylon coated stainless steel stringing cable
- Toggle clasp- this is what we use as the hook and clasp.
- 4 crimp tubes or crimp beads – This is used to seal the beads so that they remain in place and also to clamp down the wires
- Your choice of beads.
Method:
- Cut 10 inches of stringing cable.
- Place a piece of tape on the end of your cable so the beads don’t fall off.
- Lay out your design. Start in the middle and work outwards. You’ll need about 6″ worth of beads for a 7″ wrist, for example.
- Begin stringing the beads.
- Now make sure that the bracelet is the requisite size, leaving enough string for the clasp.
- Remove the tape on the end and the last bead.
- String one of the crimp tubes, then the bead that you just removed and finally another crimp tube and one of the clasps.
- String the end of your cable back through the first crimp tube, the bead, and the second crimp tube.
- Make sure the beads are not too loose but snug.
- Now with the chain nose pliers, press down each crimp tube till they are completely flattened
- Repeat this process on the other side with the other half of the toggle clasp
Use beads of your choice. You can use glass beads, plastic beads, ceramic beads, oxidized silver beads and so on.
Keep practicing till you get the hang working with the pliers and the other tools. Once you have exercised those brain cells sufficiently, you can move on to more advanced forms of jewelry making.


